Physical Address
304 North Cardinal St.
Dorchester Center, MA 02124
Physical Address
304 North Cardinal St.
Dorchester Center, MA 02124
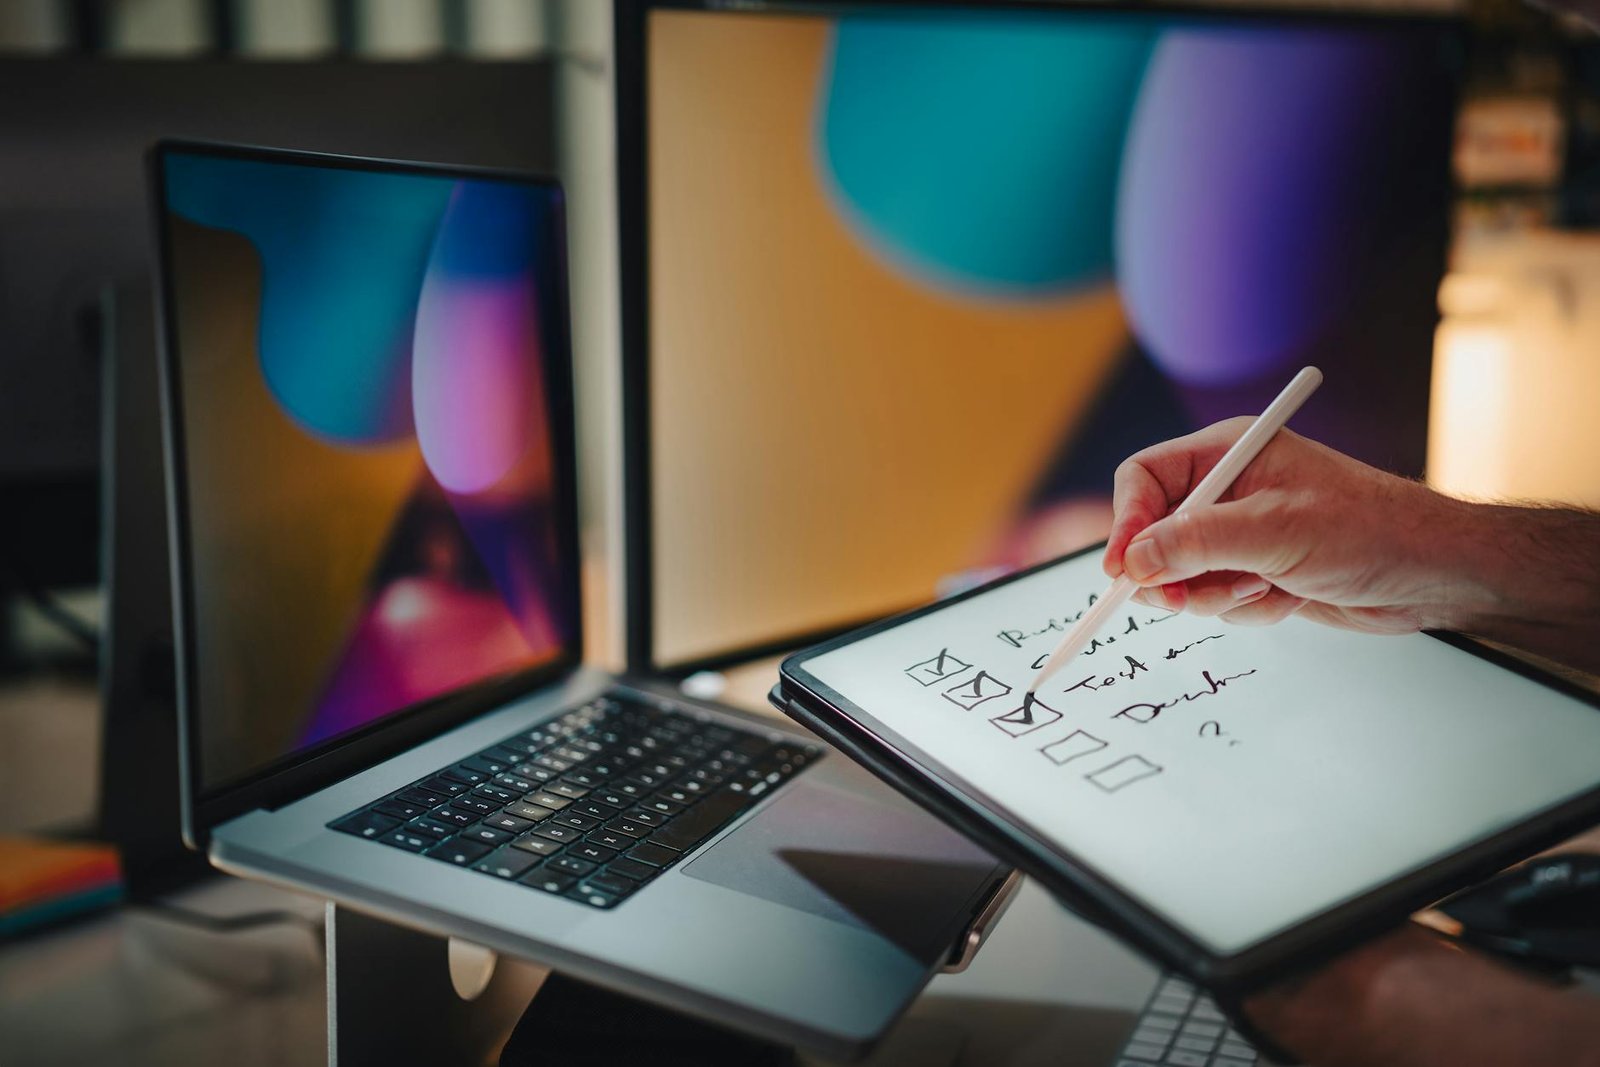
Enhance your workflow with my game-changing office equipment checklist! Elevate productivity and efficiency now!
When I first drafted my office equipment checklist, I had no idea how much it would transform my workflow. My home office was a tangle of mismatched printers, scattered cables, and half-forgotten gadgets. Each morning I found myself hunting for spare ink cartridges or scrambling when the scanner refused to connect. Trust me, I get it, the chaos can feel overwhelming. Here’s a thought: what if you had one consolidated list covering every piece of professional office electronics you actually need? That simple step helped me replace frustration with confidence. In this post, I’m sharing how I built a bulletproof blueprint of modern office equipment that keeps me on track from Monday mornings to last-minute presentations. Whether you’re a freelancer juggling invoices or a small team gearing up for an important pitch, this guide will show you how to set up reliable devices, manage supplies, and avoid those all-too-familiar tech hiccups.
When I sat down to build my list, the first thing I did was map out everything I do on a typical day. Do you spend most mornings printing shipping labels? Or are your afternoons packed with scanning contracts and receipts? Maybe you run video calls and slide decks back-to-back. Identifying these core activities helped me figure out which tools are non-negotiable. That being said, every business and freelancer’s mix of gear will differ. So I listed out my top priorities:
Here’s a thought: once you see which actions take up most of your time, you can rank devices by impact. For example, if you print 50 pages daily, a high-speed laser printer should land at the top of your checklist. If you’re converting heaps of paperwork into digital files, a duplex scanner becomes mission critical. Personally, this exercise revealed that I needed better networking gear just as much as a reliable printer, and understanding our workflow is the compass for building an effective equipment lineup.
When it came to packing my workspace, I focused on building a core toolkit of essential office gadgets that cover printing, scanning, viewing, and connectivity. That being said, your own lineup might look a bit different depending on daily demands. Here’s a quick comparison of the five non-negotiables I rely on:
| Equipment | Key feature | Sample model | Approx. cost |
|---|---|---|---|
| Laser printer | Fast duplex printing | HP LaserJet Pro M404n | ~$200 |
| Document scanner | Wireless duplex scanning | Fujitsu ScanSnap iX1600 | ~$400 |
| Projector | Portable HD, 3,600 lumens | Epson EX3260 | ~$350 |
| Monitor | 24″ FHD, height adjustable | Dell P2419H | ~$180 |
| Docking station | Single-cable hub | CalDigit TS3 Plus | ~$250 |
Beyond these, I recommend:
Whether you’re outfitting a team or just yourself, having reliable industrial office supplies—printer paper, staples, and extra cables—makes life easier. Once I ticked off these essentials on my equipment list, my day-to-day became much smoother, no more last-minute hunts for adapters or printer jams right before deadlines.
I soon realized that even the best printer or projector is useless without solid connectivity. That’s why step two of my process addressed all the ways devices talk to each other. That being said, you don’t need enterprise-grade equipment right away, but the right gear can save headaches down the road. For me, that meant:
I sourced much of this through office technology solutions providers specializing in small setups. Eventually, I upgraded to a mesh Wi-Fi system that blankets every corner of my space, eliminating dead spots during virtual presentations. Trust me, once those devices stay online without constant resets, the rest of your gear feels that much more reliable. Evaluating network components alongside your core toolkit sets the stage for a truly integrated workspace.
Outfitting an entire office can quickly add up, so I researched ways to keep quality high and costs low. Here’s what worked for me:
I also checked quotes from multiple suppliers to compare service packages and warranty periods. That being said, cost-effective doesn’t have to mean cheap. I cross-referenced prices with user feedback and warranty coverage before making any big purchase. For high-value gear, I looked into insurance policies just as an extra safety net. And knowing my options for maintenance and repair services gave me confidence that downtime would be minimized. Balancing budgets with performance turned out to be a key piece of my workflow overhaul.
Even a small workspace benefits from dedicated presentation and scanning gear. Early on, I realized that switching between devices mid-meeting wasted precious minutes. So I refined my checklist to include:
I tapped professional office electronics vendors for setup recommendations. When mounting the projector, I followed basic office equipment safety guidelines: secure anchors, cable covers, and proper ventilation. This seamless setup not only minimized transition delays, it also boosted my professional image with clients and stakeholders.
Even the sturdiest equipment needs TLC. That’s why I added a maintenance log to my checklist. Here’s how I keep everything running smoothly:
I manage this process in a simple spreadsheet, which reminds me when tasks are due. When minor issues pop up—paper jams, scan errors, or flickering screens—I consult my go-to office equipment maintenance guides and hold onto extra parts in my supply cabinet. Keeping records of past repairs and costs also helps me decide when it’s more cost-effective to replace gear than to fix it. Trust me, investing fifteen minutes per week in preventative care has saved me hours of frustration and unexpected downtime.
A static checklist quickly becomes outdated, so I set reminders to review my setup every six months. I also align these check-ins with busy seasons; since Q4 always involves heavy reporting, I make sure my supplies and devices are especially reliable then. During each update, I:
That being said, not every upgrade needs to be major. Sometimes a firmware update or moving devices to a different desk extends the life of hardware by years. I also look for seasonal discounts or clearance opportunities to swap out older gear at lower costs. This ongoing process turns my initial checklist into a living document that evolves with my business needs.
When I look back, the real win was the peace of mind. Here’s what changed:
Beyond these metrics, having a trusted framework boosted my confidence. I stopped stressing over forgotten cables or last-minute software updates. That being said, the greatest benefit was less mental clutter—I could focus on creative tasks instead of firefighting tech issues. If you’re on the fence about committing to a detailed gear plan, trust me, taking the time to build and maintain one can transform daily operations. Keep iterating, keep experimenting, and celebrate each win. Your next workflow hero might be a simple line on a checklist.
I hope sharing my experience helps you craft a setup that works for you. Remember, it’s not about perfection but progress. Whenever you face a snag, revisit your checklist, tweak it, and then keep moving forward. You’ve got this.