Physical Address
304 North Cardinal St.
Dorchester Center, MA 02124
Physical Address
304 North Cardinal St.
Dorchester Center, MA 02124
Reinventing my space with smart temperature control! Discover top-notch devices for a cozy home.
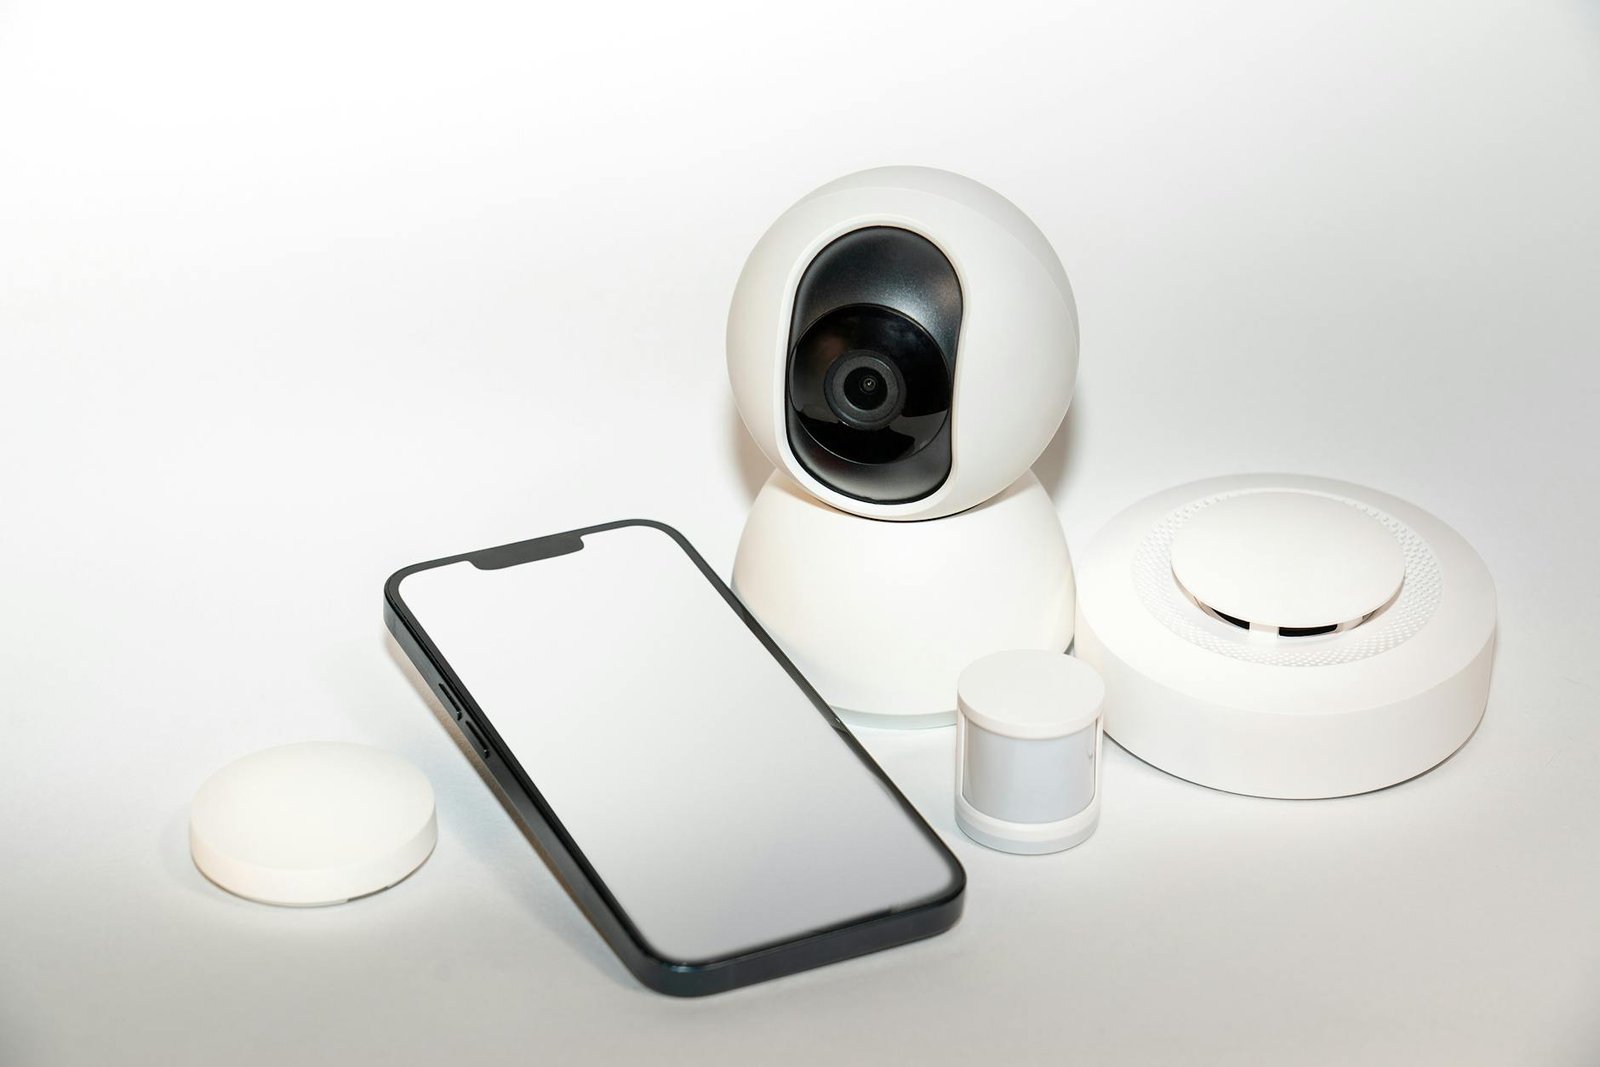
When I decided to upgrade my living space, I turned to smart home devices for temperature control to bring precision, comfort, and energy savings under one roof. These connected gadgets promised seamless climate management, and by integrating them with existing connected appliances, I created an ecosystem that adapted to my daily routines. In this ultimate guide, I’ll walk you through every step of my journey— from initial planning to advanced automation—so you can transform your home into a truly responsive environment.
Before diving into hardware and wiring, it’s important to grasp what smart temperature control really means. Essentially, it blends thermostats, vents, sensors, and software into a unified system that monitors and adjusts heating or cooling automatically. Based on my experience, a clear understanding of core components ensures you choose solutions that fit your home’s layout and daily patterns.
Smart temperature control leverages real-time data from sensors and user inputs to maintain your desired comfort levels. In addition to the thermostat itself, you may incorporate smart vents, remote sensors, and mobile apps. Together, these elements allow you to:
The advantages of a connected climate system go beyond mere convenience:
Consequently, a well-implemented setup delivers both immediate comfort improvements and ongoing cost reductions.
Selecting the core device—the smart thermostat—sets the foundation for your entire system. I evaluated several leading models, comparing compatibility, functionality, and price to find the best fit.
| Model | Platform compatibility | Price range | Notable feature |
|---|---|---|---|
| Google Nest Learning Thermostat (3rd Gen) | Works with home automation products, Google Assistant, Alexa | $249 | Learns your schedule over time |
| Ecobee SmartThermostat | Alexa built-in, Apple HomeKit, SmartThings | $249 | Includes remote room sensor |
| Honeywell Home T9 | Alexa, Google Assistant, HomeKit | $199 | Supports multiple sensors |
| tado° Smart Thermostat | Google Assistant, Alexa, HomeKit | $229 | Geofencing for auto-adjustments |
When narrowing down your options, keep an eye on these must-have capabilities:
Based on my analysis, prioritizing compatibility with your existing ecosystem pays off in long-term reliability and ease of use.
With the thermostat chosen, I turned to smart vents and temperature sensors to fine-tune each room. Proper installation ensures your system responds accurately to real-time conditions.
Smart vents regulate airflow on a room-by-room basis, enabling true zoned comfort. Main types include:
Accurate readings hinge on strategic sensor locations. I recommend:
Furthermore, mounting sensors at roughly chest height delivers the most representative data for human comfort.
Zoning transforms a single thermostat into a multi-zone manager, allowing tailored settings for each area of your home.
Start by sketching a floor plan and assigning zones based on:
This visual guide helps you decide where to deploy additional sensors or smart vents.
Once zones are defined, use your thermostat’s app or web portal to:
By customizing each zone, you achieve comfort exactly where and when you need it.
A truly smart system works seamlessly with your broader setup—voice assistants, security systems, and other home automation products.
Most leading thermostats support Amazon Alexa, Google Assistant, or Apple HomeKit. I enabled voice control so I can say:
This hands-free approach adds convenience when your hands are full or you’re across the house.
If you’re using a central hub—such as SmartThings, Home Assistant, or Hubitat—integrate your thermostat and sensors for advanced automation. For example:
In my setup, linking devices through a hub gave me granular control and laid the groundwork for more complex routines.
After installation, I focused on fine-tuning schedules and occupancy settings to maximize savings.
Creating thoughtful schedules ensures your system works smarter, not harder. My key routines include:
Occupancy detection elevates efficiency by reacting to real-time presence:
In addition, combining occupancy data with weather forecasts helps your system anticipate heating or cooling needs before you even ask.
No system is immune to hiccups. Here’s how I tackled the most frequent problems.
By following these quick-fire fixes, most issues resolve within minutes rather than escalating into a bigger headache.
To justify the investment, I monitored both comfort improvements and cost reductions.
My thermostat’s dashboard provided hourly, daily, and monthly energy reports. I also:
These insights helped me refine schedules and uncover hidden inefficiencies.
Determining return on investment (ROI) involves:
Based on my numbers, I reached payback within two heating seasons and continue to save year after year.
As smart home technology evolves, new opportunities emerge to elevate comfort and efficiency further.
Expect wider adoption of:
These innovations will enable even more granular control without complex wiring.
Artificial intelligence is primed to automate comfort:
In the near future, your climate system may require almost zero manual configuration, learning your ideal environment as intuitively as a trusted butler.
Ultimately, transforming my home with smart temperature control has been a game-changer. I’ve achieved precise comfort, streamlined my energy usage, and gained insights that power continuous improvements. Whether you’re an early adopter or simply looking to modernize your space, this guide offers all the steps you need to succeed. My recommendation is to start small—perhaps with a smart thermostat—and progressively layer in vents, sensors, and automations. Each addition compounds your benefits, delivering a connected home that truly works for you. Enjoy the journey toward effortless comfort and lasting savings.